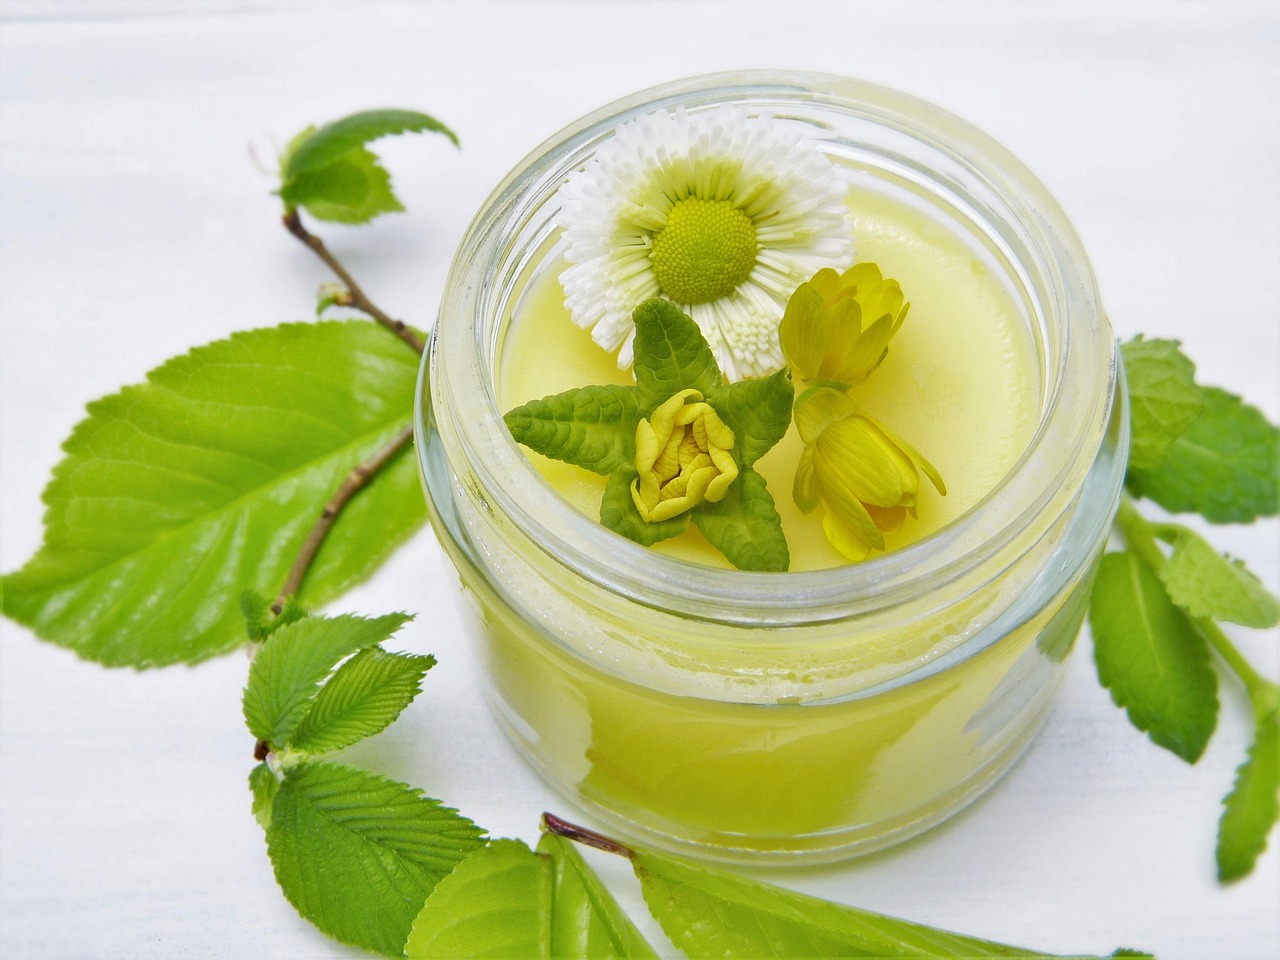
DIY Manuka and Shea Hair Masque: A Deep Conditioning Recipe at Home
Some hair days call for more than a rinse-and-condition routine. When your ends are feeling brittle, your scalp is out of balance, or your strands have lost their softness after sun, salt, or heat styling, a proper deep conditioning hair mask recipe can reset the whole picture. This one pairs the botanical richness of New Zealand manuka oil with the dense, fatty nourishment of shea butter for a masque that feels genuinely indulgent to apply.
This manuka oil hair mask is designed for home preparation with simple, easy-to-source ingredients. It takes about fifteen minutes to put together, costs a fraction of comparable salon treatments, and gives you full control over what goes on your scalp and lengths. If you are already exploring what manuka oil can do for your hair and skin, this recipe fits naturally into that wider practice. You can read more about building that routine in our guide on how to use manuka oil in your skin and hair care routine.
What Makes This Masque Worth Making
Manuka oil, cold-pressed or steam-distilled from the leaves of Leptospermum scoparium, has a distinctive, slightly resinous scent with warm, woody undertones. It is not the same as manuka honey, and it is not the same as tea tree oil, though the three are sometimes confused in popular writing. Manuka oil is richer in aromatic compounds called triketones, which give it a unique character and make it particularly interesting in hair and scalp care formulations.
Shea butter, meanwhile, is one of the most respected emollients in cosmetic formulation. It is high in oleic and stearic fatty acids, which means it melts easily into warm hair without leaving a heavy residue when rinsed properly. Combined with the lighter slip of fractionated coconut oil and the humectant properties of raw honey, this masque offers multiple layers of conditioning action in one application.
Some research suggests that manuka oil may support scalp comfort and balance, and people who use it regularly in hair formulations often report a noticeable improvement in how their scalp feels between washes. These are observational notes, not medical claims. For anyone curious about the deeper science, we recommend reading peer-reviewed botanical research alongside any DIY practice.
At a Glance
| Difficulty Level | Beginner-friendly |
|---|---|
| Prep Time | 15 minutes |
| Processing Time (on hair) | 20 to 45 minutes |
| Yield | Approximately 100 g (enough for 2 to 3 applications for medium-length hair) |
| Shelf Life | Up to 3 weeks refrigerated |
Ingredients
- 50 g raw shea butter (unrefined, ivory-coloured if possible)
- 20 g fractionated coconut oil (stays liquid at room temperature)
- 15 g argan oil (lightweight, high in vitamin E)
- 10 g raw honey (acts as a humectant to draw moisture into the hair shaft)
- 5 g aloe vera gel (optional, adds slip and lightness for finer hair types)
- 10 drops manuka essential oil (this gives a dilution of approximately 0.5%, which is appropriate for scalp use)
- 5 drops lavender essential oil (optional, softens the resinous top note of manuka and adds a calming aromatic quality)
Dilution note: The recipe as written delivers manuka oil at roughly 0.5% of the total batch weight. This is a conservative, scalp-safe dilution for most adults. Do not increase the essential oil count beyond 15 drops total in this batch size without consulting a qualified aromatherapist. Essential oils are highly concentrated and should never be applied undiluted to the scalp or skin.
Equipment You Will Need
- Small heatproof glass bowl or double boiler
- Saucepan (to create a bain-marie if you do not own a double boiler)
- Digital kitchen scale (volume measures are less accurate for butters and oils)
- Silicone spatula or wooden spoon
- Small glass jar with a lid for storage (4 oz / 120 ml capacity works well)
- Shower cap or plastic wrap
- Optional: a warm towel to wrap around your hair during processing
Step-by-Step Instructions
- Set up a bain-marie. Fill a small saucepan with about two inches of water and bring it to a gentle simmer. Place your heatproof glass bowl on top. The bowl should sit above, not in, the water.
- Melt the shea butter. Add the measured shea butter to the bowl and allow it to melt slowly over low heat. Stir occasionally. Shea butter scorches at high temperatures and loses some of its beneficial qualities, so keep the heat gentle.
- Add the liquid oils. Once the shea butter is fully melted, remove the bowl from the heat. Stir in the fractionated coconut oil and argan oil. Mix until combined.
- Cool before adding honey and aloe. Allow the oil blend to cool until it is just warm to the touch, not hot. Then stir in the raw honey and aloe vera gel if using. Adding honey to a very hot mixture can reduce its humectant effectiveness.
- Add the essential oils last. Once the mixture has cooled to room temperature or slightly above, add the manuka essential oil and lavender (if using). Stir thoroughly. Adding essential oils to hot mixtures causes them to evaporate quickly, which wastes both their aromatic quality and their botanical properties.
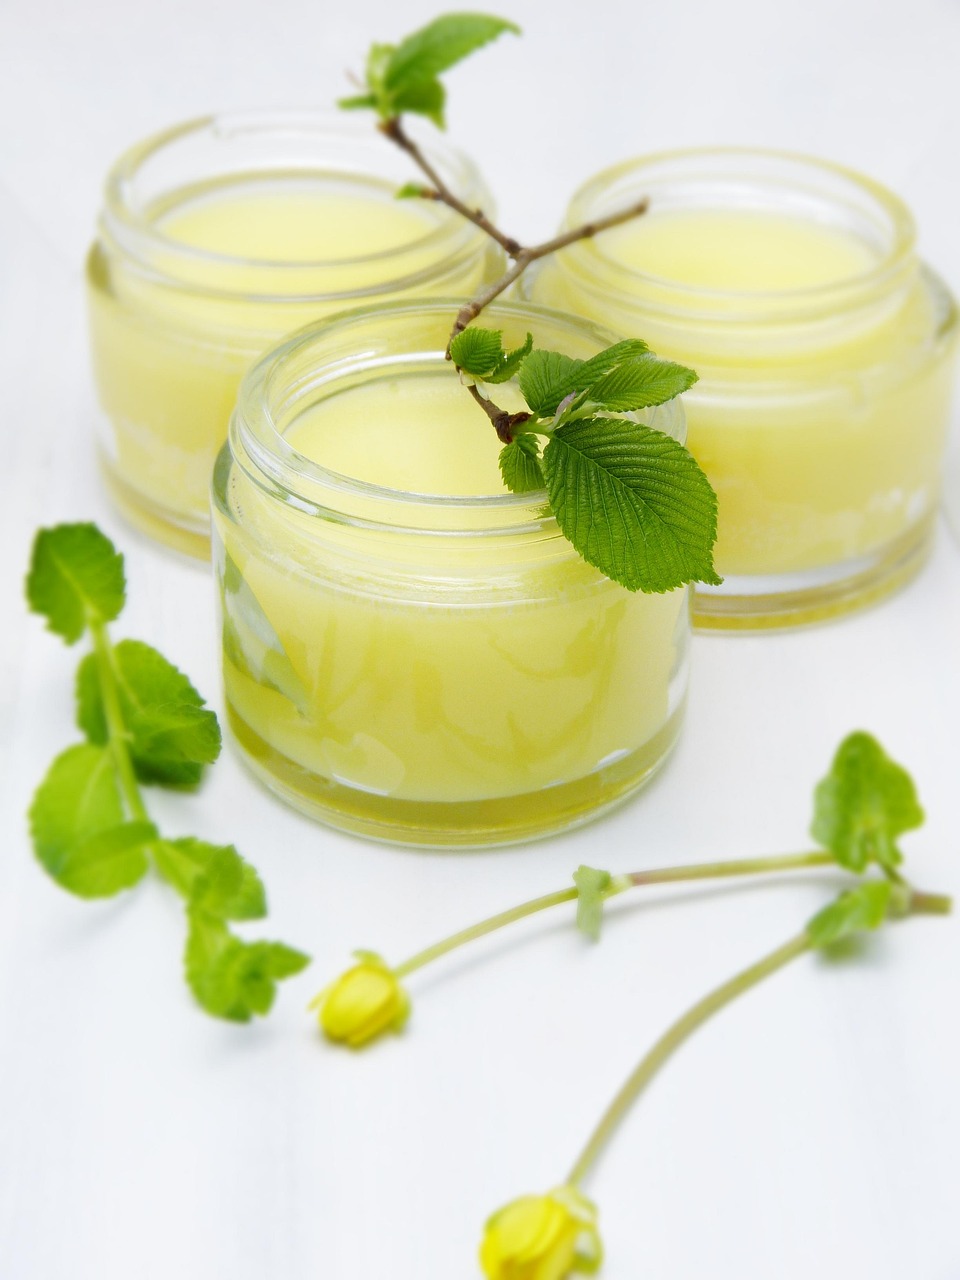
- Transfer and set. Pour or spoon the masque into your clean glass jar. Leave the lid off until it reaches room temperature, then seal and refrigerate for 30 minutes if you want a firmer texture before application.
How to Apply the Masque

- Start with dry or lightly damp hair. The oils penetrate better without excess water diluting the formula.
- Scoop a generous amount (roughly one to two tablespoons for shoulder-length hair) and warm it briefly between your palms.
- Work the masque through your lengths first, focusing on the mid-shaft to ends. Then apply a smaller amount to the scalp, massaging gently with your fingertips for two to three minutes.
- Cover your hair with a shower cap. For deeper conditioning, wrap a warm towel around the cap. The gentle heat helps the oils soften and penetrate.
- Leave on for 20 to 45 minutes. Longer is not always better. For fine hair types, 20 to 25 minutes is usually sufficient.
- Rinse thoroughly with warm water, then follow with your regular shampoo. You may need two shampoo passes to fully remove the shea butter from thicker hair types.
Safety Warnings and Contraindications
Patch Test First
Before applying this masque to your full scalp, do a patch test. Apply a small amount of the finished masque to the inside of your wrist or behind your ear. Leave it for 24 hours and check for any redness, itching, or irritation. If any reaction occurs, do not proceed with scalp application. Manuka oil, like all essential oils, can cause sensitivity in some individuals.
Essential Oil Safety
Never apply undiluted manuka oil directly to your scalp or skin. The recipe above is calibrated to a safe dilution level for general adult use. If you are pregnant, nursing, or have a known sensitivity to plants in the Myrtaceae family (which includes manuka), consult a qualified healthcare provider before using this masque.
Nut Allergies
Shea butter is derived from the shea tree nut. People with tree nut sensitivities should seek guidance from a healthcare professional before using shea-based products.
Children
This recipe is formulated for adult use. Essential oil dilution requirements differ significantly for children. Do not use this masque on children without professional aromatherapy guidance.
Eye Contact
Keep the masque away from your eyes. If contact occurs, rinse thoroughly with clean water.
Storage Instructions and Shelf Life
This masque contains no synthetic preservatives, which means proper storage matters. Store the finished masque in a sealed glass jar in the refrigerator. It will keep for up to three weeks under refrigeration.
Always use clean, dry hands or a spatula to scoop from the jar. Introducing water into the jar will shorten the shelf life considerably and may encourage mould growth.
You will notice the masque firms up in the fridge. Simply scoop out the amount you need and warm it between your hands before applying. If you see any discolouration, an off smell, or unusual texture before the three-week mark, discard the batch.
If you prefer smaller, single-use portions, pour the freshly made masque into an ice cube tray, freeze, then pop the cubes into a zip-lock bag. Each cube thaws quickly when held in the palms and keeps for up to two months in the freezer.
Variations and Substitutions
For Very Dry or Coarse Hair
Swap the argan oil for castor oil. Castor oil is considerably heavier and coats the hair shaft with a dense, protective layer. Use the same 15 g measurement. Note that castor oil can be harder to rinse out, so you may need an extra shampoo pass.
For Fine or Oily Hair
Reduce the shea butter to 30 g and increase the aloe vera gel to 20 g. The lighter formula will still condition without weighing down finer strands. Focus application on the ends only and avoid the scalp if your roots tend toward oiliness.
Scent Variation: Manuka and Lavender Blend
If you enjoy a more floral aromatic profile, our Southern Coast Manuka Lavender blend was designed exactly for this kind of sensory layering. Use 8 drops of the blend in place of the separate manuka and lavender oils listed above, keeping total essential oil content the same.
Vegan Option
Replace the raw honey with an equal amount of vegetable glycerin. Glycerin is also a humectant and works well in this formula without changing the texture significantly.
Adding Protein
For hair that has been significantly weakened by colour processing or heat, consider adding one teaspoon of hydrolysed silk or oat protein to the cooled mixture before adding your essential oils. Protein treatments are best used no more than once a month to avoid over-hardening the hair shaft.
How This Fits Into a Broader Self-Care Practice
Deep conditioning works best when it is part of a regular rhythm rather than an occasional rescue. Most people find that using a masque like this every one to two weeks gives their hair time to respond and recover between applications. Pairing it with a weekly scalp massage using a diluted manuka oil blend can further support scalp comfort and a balanced environment at the root.
If you enjoy the grounding, botanical quality of manuka-based home rituals, our DIY manuka foot soak and scrub is a natural companion piece. It uses a similar philosophy of simple, quality ingredients applied with a little intention. Together, they make for a genuinely restorative home spa session on a slow weekend afternoon.
A Note on Manuka Oil Quality
Not all manuka oil is the same. The triketone content, which gives the oil much of its distinctive character, varies depending on the region of New Zealand where the plant was harvested, the altitude, and the extraction method used. East Cape manuka oil, sourced from the northeastern tip of the North Island, consistently tests highest in triketone concentration and is generally considered the premium standard for cosmetic formulation.
When you are making a DIY manuka hair masque, the quality of the oil you choose makes a real difference to the final result. A high-triketone oil will give you a richer aromatic experience and a more characteristic botanical profile in the finished masque. Look for suppliers who provide gas chromatography (GC) testing data with their oils, which confirms both purity and chemical composition. Diluted or adulterated oils are unfortunately common in the essential oil market, and a quality test certificate is the most reliable way to know what you are actually using.
Good hair care starts with good ingredients. This masque is simple enough to make on a Sunday afternoon and thoughtfully put together enough to use with confidence week after week.